It’s time for another TGIF Challenge! This week, we are focusing on Glossy Paper. Glossy paper is often overlooked, but it’s so fun to work with and provides stunning results! I love using it for various stamping techniques, such as sponging and alcohol spritzing. So dig yours out and come join us this week.
To see all the designers’ projects, go to the TGIF Challenges Blog.
For my card, I used an alcohol spritzing technique (see below for description) to create custom designs on glossy paper. I played around with this technique and actually created several different sheets. Then, I used one as a background and some of the others to stamp and cut my layers.
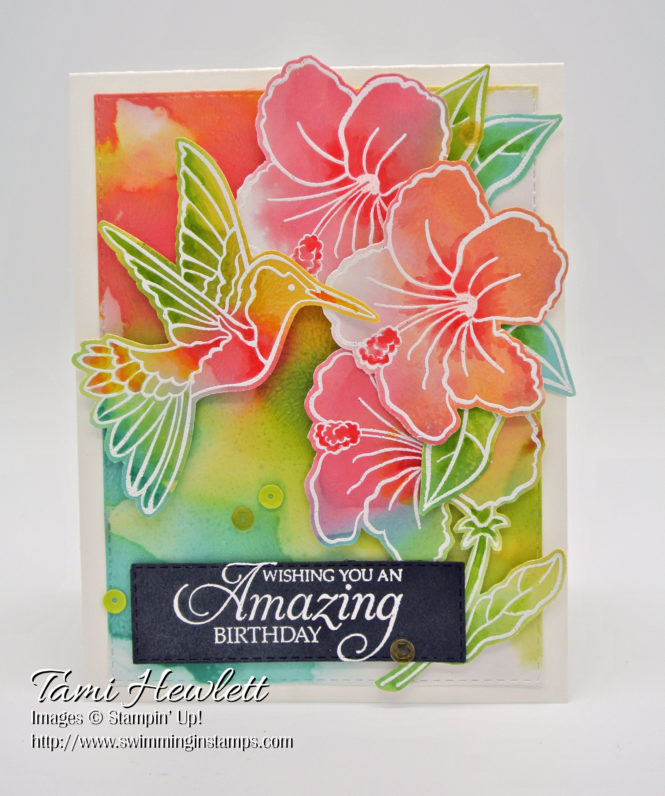
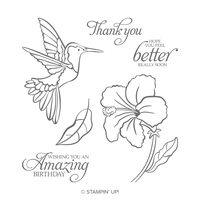
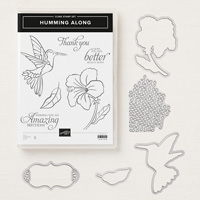
This card features the new Humming Along stamp set. You can purchase it from the Occasions Catalog starting January 3, 2019. It is one of the new cling stamps! This new type of red rubber stamp is amazing!!! The stamps are super sticky, and you are going to love them!
Tip: Be very careful to read the instructions when putting together and using cling stamps! The labels are super sticky and cannot be adjusted. Also, you can actually damage the stamps if you don’t pick them up properly. The proper way is to gently lift one corner and peal.

Alcohol Spritzing Technique:
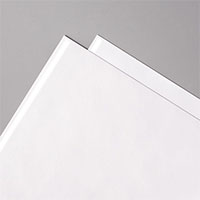
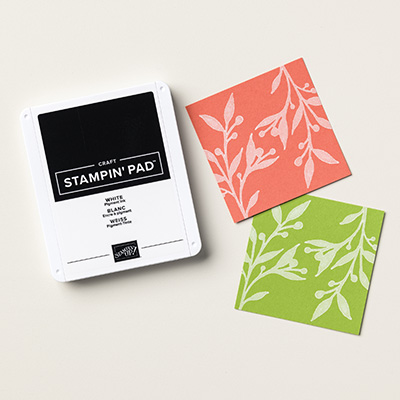
Before starting, I suggest protecting your work surface, as this technique can get messy. I used an old piece of cardboard from a DSP pack. Start out by cutting two sheets of Glossy cardstock measuring 4-1/4″ x 5-1/2″. Set aside one for now. Fill your Stampin’ Spritzer with 91% isopropyl alcohol. Lightly spritz one sheet of Glossy cardstock. Add a few drops of ink refill that will blend well together. I used Daffodil Delight, Flirty Flamingo, Lemon Lime Twist, and Coastal Cabana, and ended up getting the best results when I only added three drops of each color. Spritz again with alcohol, and then place the second sheet of Glossy cardstock, glossy side down, on top of the inked sheet. (The two glossy sides face each other.) Press the sandwich with your fingers to squish the ink around. You can even twist the paper slightly. Then, separate the two sheets and let dry.
Tip: I got the best results when I didn’t add too much ink. Too much ink resulted in muddy colors.

It’s best to be patient and let the sheets air dry.
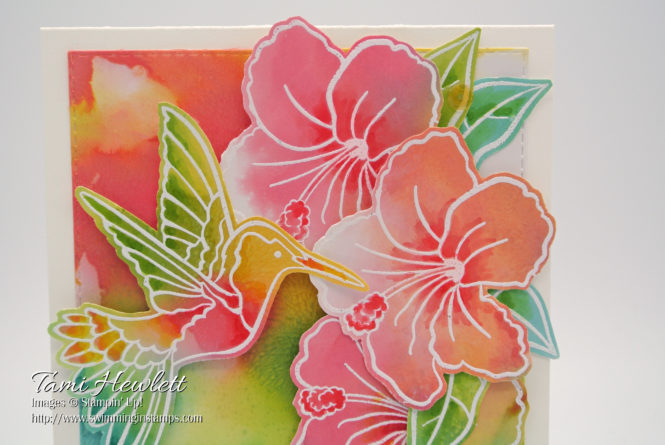
Before stamping and embossing the images in white, it’s super important to rub the surface of the paper with an Embossing Buddy. Otherwise, the embossing powder will not only stick to your stamped images, but the inked paper as well.
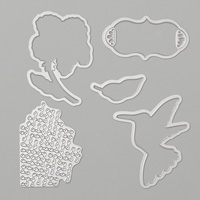
After cutting out the images (because I totally forgot to order the coordinating framelits dies!!!), I added highlights to the hummingbird, flowers, and leaves with Stampin’ Blends. I found that slightly darker colors of blends worked best. (See colors listed below under supplies.)
Supplies used on my card:


I hope you’ll join us for TGIF Challenges this week! I’d love to see your project featuring Glossy cardstock. Load a photo onto your blog or social media and link the photo to the blog using the link tool at the bottom of the TGIF Challenges Blog post.
Have a wonderful and creative day!
